
Keeping your car in top shape means going the extra mile to maintain that fresh-from-the-dealership look. Auto detailing is the secret to not only making your car shine but also protecting it from the wear and tear of everyday life. Whether you’re tackling it yourself or letting the pros handle it, here’s everything you need to know to make your ride look like new again.
Why Auto Detailing?
Auto detailing goes beyond a quick rinse or drive-thru car wash—it’s a thorough cleaning and restoration process that leaves your car looking and feeling brand new. Detailing has two main components: the exterior, where everything from the paint to the tires gets a deep clean, and the interior, which is all about scrubbing, vacuuming, and sanitizing every corner. Here’s why it’s worth the time:
- Thoroughly clean and protect paint, rims, and other details
- Remove stains and odors from interior
- Increased longevity of interior components (seats, knobs, console) and exterior features (rims, protective coating)
- Increased resale value if you ever decide to sell
Must-Have Supplies and Equipment
Here’s a rundown of must-have items for a thorough job:
- Cleaning Products: Shampoos, polishes, waxes, and interior cleaners. For best results, always choose high-quality products specifically designed for vehicles
- Microfiber Towels and Brushes: Essential for drying, dusting, and applying products.
- Vacuum and Brushes: A powerful vacuum with attachments and soft-bristled brushes for detailing hard-to-reach areas.
- Dual-Action Polisher: This tool is for smooth and even polishing of the paintwork. Be sure to start with a low speed, then increase gradually as you gain confidence .
Exterior Detailing: Steps and Tips

1. Washing
The first step in detailing your vehicle is giving it a thorough wash to remove dirt and grime. It’s crucial to use the right method and tools to avoid scratching the paint. To start, use the two-bucket method: one bucket for rinse water and one for soapy water. This keeps dirt from getting back onto the car and helps prevent scratching. Make sure to use microfiber mitts, as they are soft and gentle on the surface. Avoid using dish soap, as it strips away the protective wax and can damage the paint over time.
2. Clay Bar Treatment
After washing, the next step is clay bar treatment, which takes care of the impurities that are harder to remove. This includes contaminants like tree sap, smog accumulation, and brake dust. To ensure the process is smooth, always use a lubrication spray and apply it before starting. This helps the clay bar glide across the paint without dragging, and it enables the bar to lift contaminants without harming the surface. It’s important to avoid pressing too hard while using the clay bar; light pressure is sufficient.
3. Polishing
Polishing is generally not considered to be a standard part of detailing, but it is highly recommended if your paint has a lot of scratches, swirls, or other cosmetic imperfections. A polish will remove these imperfections and oxidation from the paint, restoring its shine.
The best tool for this job is a dual-action polisher, which ensures an even and gentle finish. Don’t get ahead of yourself—apply a thin layer of polish first to prevent streaking or unevenness. Be mindful not to over-polish, either; focus on areas with imperfections or dull spots. Keep the polisher moving at all times to avoid damaging the surface and ensure a smooth, even shine.
4. Waxing
The final step in the exterior detailing process is waxing, which adds a protective layer to the paint and enhances its gloss. Apply the wax in a thin layer using a clean, soft applicator pad. Working in circular motions helps ensure even coverage. Allow the wax to haze before buffing it off, which ensures the protection is fully set and the surface is smooth. Once the wax has hazed, gently buff it off with a clean microfiber towel. This will leave your vehicle with a shiny, glossy finish, while the wax will help protect it from the elements for months to come.
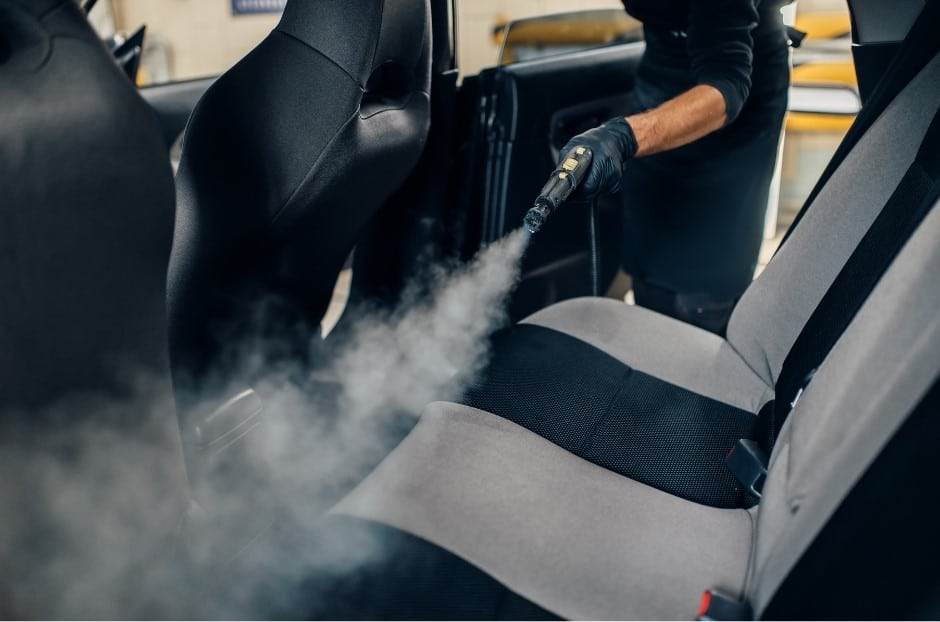
Interior Detailing: Steps and Tips
1. Vacuuming
Start with a thorough vacuuming to remove dirt, dust, and debris from seats, floor mats, and hard-to-reach spots. Use different vacuum attachments for various surfaces: a crevice tool for tight spaces and an upholstery brush for fabric seats. Don’t forget the under-seat areas, cup holders, and between the seat cushions, as these can easily be overlooked but accumulate the most dirt.
2. Cleaning Upholstery and Carpets
Now it’s time to tackle the seats and carpets. For fabric upholstery, use a fabric cleaner to lift dirt and stains, applying it with a soft brush to work the cleaner into the fibers. For leather, use a leather conditioner to clean and restore suppleness. Vinyl surfaces can be wiped down with a gentle vinyl cleaner. Always follow the manufacturer’s instructions for the best results and avoid harsh chemicals that could damage your upholstery.
3. Dashboard and Console Cleaning
Dust can quickly accumulate on the dashboard, console, and trim, so give these areas some attention. Use a microfiber cloth to gently wipe down the dashboard and console. When cleaning plastic or vinyl, avoid harsh chemicals, as they can damage the surface and cause fading. For wood trim, a specific wood cleaner or conditioner will keep it looking polished without stripping it of its finish.
4. Glass Cleaning
To finish off the interior detailing, use a dedicated glass cleaner and a clean microfiber towel to wipe away any grime and smudges from windows and mirrors. Be sure to clean both the inside and outside of the glass for a streak-free finish. For an even better result, use a dry microfiber towel to buff off any excess cleaner after wiping.
Tips and Tricks for a Professional Finish
- Work in Small Sections: Whether you’re washing, waxing, or polishing, break the job into small, manageable areas.
- Use Two Towels for Drying: One towel for the initial drying and a second to buff for a streak-free finish.
Tip: Fold your towels into quarters so you can always use a clean section for each pass. - Don’t Over-Apply Products: Applying too much product can cause streaks or build-up, leaving your car looking less than stellar.
- Detail Regularly: The more often you detail, the less dirt accumulates, making each session easier and more effective.
Tip: Aim to detail your car every 1-3 months to maintain that fresh, just-washed look.
Professional Auto Detailing Services
With the right tools, techniques, and a little elbow grease, you can achieve a professional-grade detail that’ll make your car shine like new. If you’re short on time or want that flawless finish without the hassle, Auto-Glow Detailing is here to help—just leave the hard work to us!